Security scanning results
- Tier: Free, Premium, Ultimate
- Offering: GitLab.com, GitLab Self-Managed, GitLab Dedicated
Version history
-
Introduced in GitLab 17.9 with a flag named
dependency_scanning_for_pipelines_with_cyclonedx_reports. Disabled by default. - Enabled on GitLab.com and GitLab Self-Managed in GitLab 17.9.
- Feature flag
dependency_scanning_for_pipelines_with_cyclonedx_reportsremoved in 17.10.
View and act on the results of pipeline security scanning in GitLab. Select security scanners run in a pipeline and output security reports. The contents of these reports are processed and presented in GitLab.
Key terminology for understanding security scan results:
- Finding
-
- A finding is a potential vulnerability identified in a development branch. A finding becomes a vulnerability when the branch is merged into the default branch.
-
- Findings expire, either when the related CI/CD job artifact expires, or 90 days after the pipeline is created, even if the related job artifacts are locked.
- Vulnerability
-
- A vulnerability is a software security weakness identified in the default branch.
-
- Vulnerability records persist until they are archived, even if the vulnerability is no longer detected in the default branch.
The presentation of security scanning results differs depending on the pipeline type - branch pipeline or merge request pipeline.
Vulnerabilities identified in the default branch are listed in the vulnerability report.
| Vulnerability information | Branch pipeline |
Merge requestpipeline |
|---|---|---|
| Security reports | {check-circle-filled} Yes | {check-circle-filled} Yes |
| Pipeline security report (Ultimate only) |
{check-circle-filled} Yes | {check-circle-filled} Yes |
| Merge request security widget (Ultimate only) |
{dash-circle} No | {check-circle-filled} Yes |
| Vulnerability report | {check-circle-filled} Yes - Default branch only | {dash-circle} No |
Security report artifacts
Security scanners run in branch pipelines and, if enabled, merge request pipelines. Each security scanner outputs a security report artifact containing details of all findings or vulnerabilities detected by the specific security scanner. You can download these for analysis outside GitLab.
In a development (non-default) branch, findings include any vulnerabilities present in the target branch when the development branch was created.
Expired findings are not shown in the pipeline's Security tab. To reproduce them, re-run the pipeline.
Download a security report
- Tier: Ultimate
You can download a security report, for example to analyze outside GitLab or for archival purposes. A security report is a JSON file.
To download a security report:
- On the left sidebar, select Search or go to and find your project.
- Select Build > Pipelines.
- Select the pipeline.
- Select the Security tab.
- Select Download results, then the desired security report.
The selected security report is downloaded to your device.

Pipeline security report
- Tier: Ultimate
The pipeline security report contains details of all findings or vulnerabilities detected in the branch. For a pipeline run against the default branch all vulnerabilities in the pipeline security report are also in the vulnerability report.
For each finding or vulnerability you can:
- View further details by selecting its description.
- Change its status or severity.
- Create a GitLab issue to track any action taken to resolve or mitigate it.
View pipeline security report
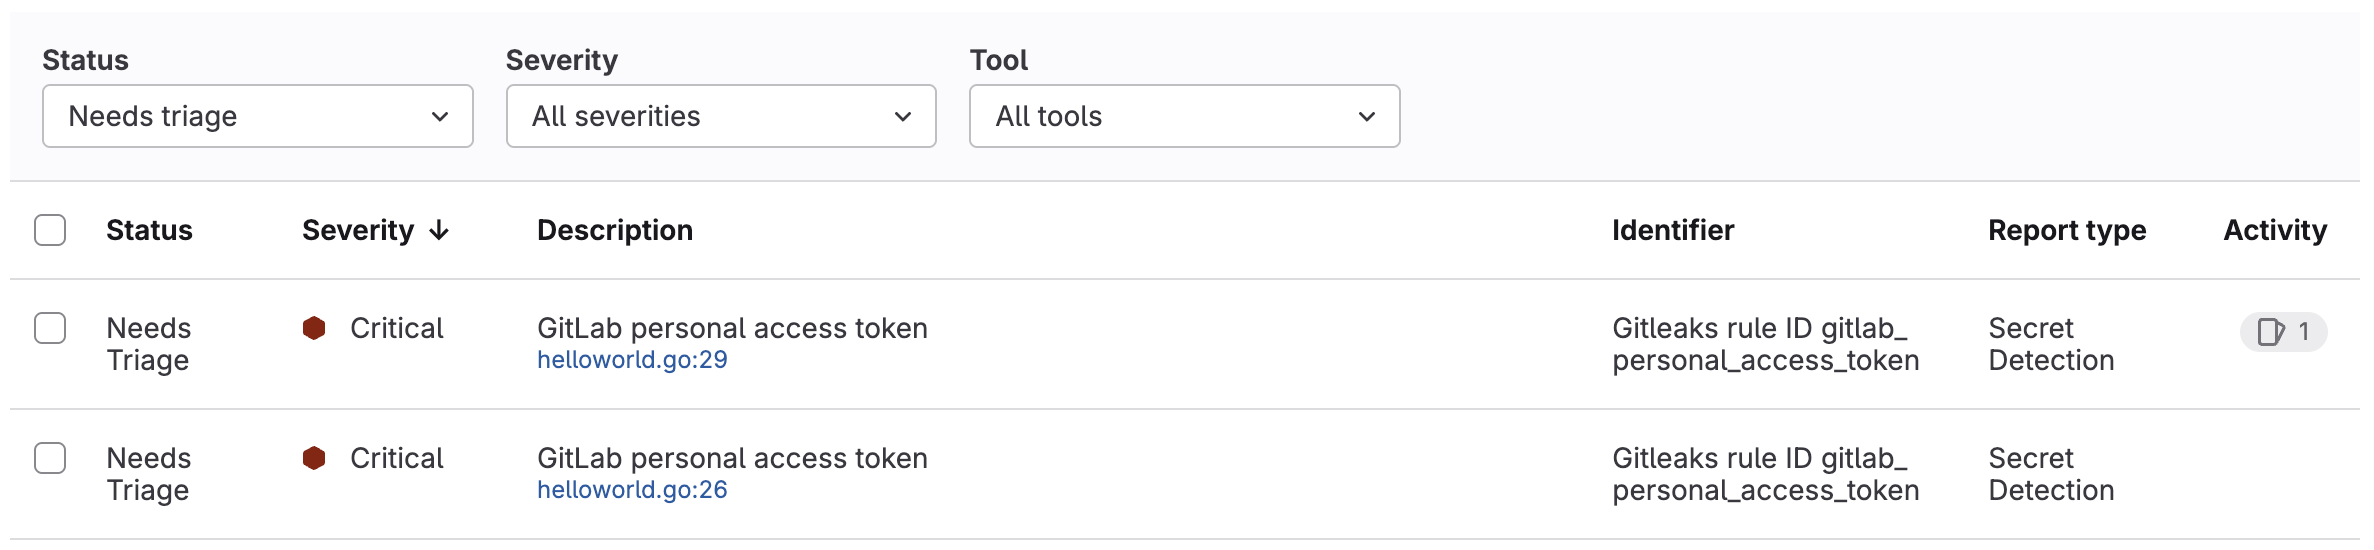
View the pipeline security report to see details of all findings or vulnerabilities detected in the branch.
To view a pipeline security report:
- On the left sidebar, select Search or go to and find your project.
- Select Build > Pipelines.
- Select the latest pipeline.
To see details of a finding or vulnerability, select its description.
Change status or severity
You can change the status, severity, or both of a finding or vulnerability in the pipeline's security tab. Any changes made to a finding persist when the branch is merged into the default branch.
Prerequisites:
- You must have at least the Maintainer role for the project or the
admin_vulnerabilitycustom permission.
To change the status and severity of findings or vulnerabilities:
-
On the left sidebar, select Search or go to and find your project.
-
Select Build > Pipelines.
-
Select the latest pipeline.
-
Select the Security tab.
-
In the finding report:
-
Select the findings or vulnerabilities you want to change.
- To select individual findings or vulnerabilities, select the checkbox beside each.
- To select all findings or vulnerabilities on the page, select the checkbox in the table header.
-
In the Select action dropdown list, select either Change status or Change severity.
-
Create an issue
Create an issue to track, document, and manage the remediation work for a finding or vulnerability.
- On the left sidebar, select Search or go to and find your project.
- Select Build > Pipelines.
- Select the pipeline.
- Select the Security tab.
- Select a finding's description.
- Select Create issue.
An issue is created in the project, with the description copied from the finding or vulnerability's description.
Merge request security widget
- Tier: Ultimate
The merge request displays a security widget that provides a summary of the difference the changes would make to findings. It takes some time after the CI/CD pipeline has run to process the security reports, so there may be a delay until the security widget is shown.
For example, consider two pipelines with these scan results:
- The source branch pipeline detects two vulnerabilities identified as
V1andV2. - The target branch pipeline detects two vulnerabilities identified as
V1andV3. -
V2appears on the merge request widget as "added". -
V3appears on the merge request widget as "fixed". -
V1exists on both branches and is not shown on the merge request widget.
To show the differences between the source branch and the target branch, security reports from both are required. The 10 most recent pipelines for the commit when the feature branch was created from the target branch are checked for a security report. If one can't be found in the 10 most recent pipelines then all findings are listed as new. Before enabling security scanning in merge requests ensure that security scanning is enabled for the default branch.
View security widget
View the merge request security widget to see the difference in findings the changes would make.
To view the security widget:
- On the left sidebar, select Search or go to and find your project.
- Select Merge requests.
- Select a merge request.
To see the details for each security report type, select Show details ({chevron-down}). For each security report type, the widget displays the first 25 added and 25 fixed findings, sorted by severity. To see all findings on the source branch of the merge request, select View all pipeline findings.

Troubleshooting
When working with security scanning, you might encounter the following issues.
Dismissed vulnerabilities are visible in MR security widget
When viewing the security widget in a merge request you might sometimes see dismissed vulnerabilities are still listed.
No solution is yet available for this issue. For details, see issue 411235.
Report parsing and scan ingestion errors
These steps are to be used by GitLab Support to reproduce such errors.
Some security scans may result in errors in the Security tab of the pipeline related to report parsing or scan ingestion. If it is not possible to get a copy of the project from the user, you can reproduce the error using the report generated from the scan.
To recreate the error:
-
Obtain a copy of the report from the user. In this example,
gl-sast-report.json. -
Create a project.
-
Commit the report to the repository.
-
Add your
.gitlab-ci.ymlfile and have the report as an artifact in a job.For example, to reproduce an error caused by a SAST job:
sample-job: script: - echo "Testing report" artifacts: reports: sast: gl-sast-report.json -
After the pipeline completes, check the content of the pipeline's Security tab for errors.
You can replace sast: gl-sast-report.json with the respective artifacts:reports type and the correct JSON report filename depending on the scan that generated the report.